
As a dad and photographer, I’ve been able to share my passion for photography with my kids , helping them to develop their own photography skills. They have loads of crazy fun, and yet take much better photos than if I had left them to figure it out on their own.
With the exception of the group photo and the shot of my son holding his camera, every photograph in this article was taken by one of my kids.
If you want a fun activity to share with the kids in your life (from around 7 to 13), try some of the practical tips, tricks, and mindsets in this article. Whether as part of a family, school, club, or other group, kids prosper when given the right guidance—in photography or anything else they find interesting.
Start with a Cheap Camera
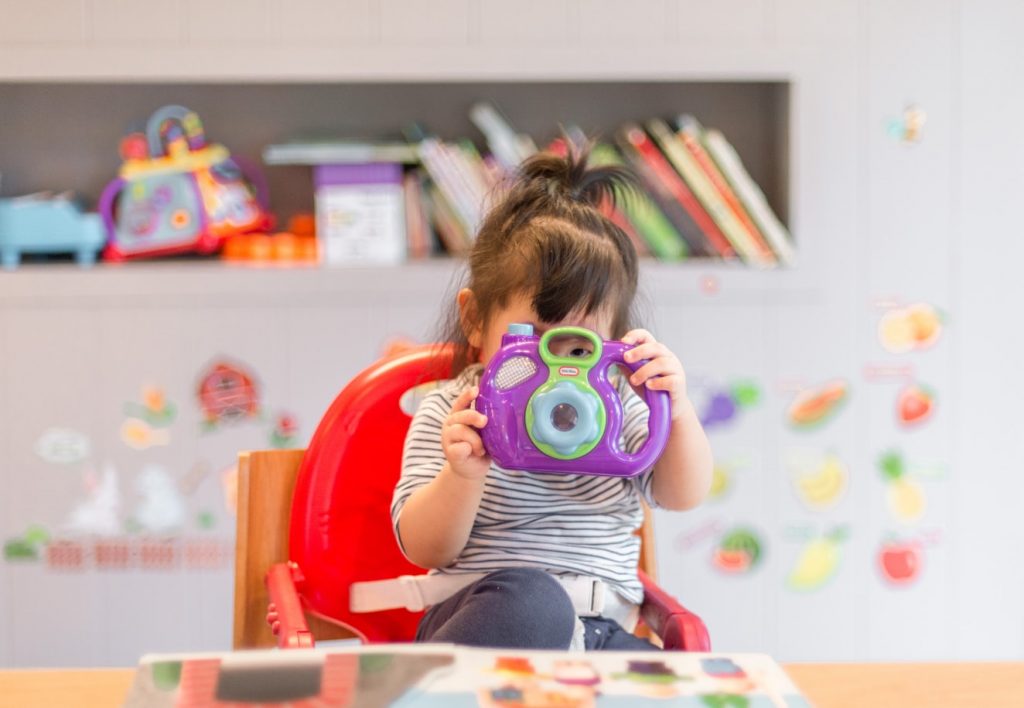
You don’t need a top-of-the-line camera to get kids excited about photography. Inexpensive, entry-level, point-and-shoot cameras are perfect because they’re small, lightweight, unintimidating, and replaceable. Quite often they are available in custom colors.
Don’t obsess over the specifications. Get a simple camera. You can ignore pixel count, ISO speed, LCD size, and other features. All you need to get started is a few helpful shooting modes (Auto, plus some scenes and effects) and the ability to zoom in and out a bit. Be sure to get a compatible memory card, and, if the camera takes rechargeable batteries, a backup battery.
Use Auto Mode
Kids should start out using a camera’s Auto shooting mode. Frankly, it’s the best mode for beginners of any age! When in Auto mode, the camera handles all the important exposure settings. Auto mode helps kids gets used to the essential skills of holding the camera, zooming in and out with the lens, composing a scene, taking, and reviewing pictures, or taking selfies. You can teach a lot about photography before you ever need to address other shooting modes.
Practice with People, Pets, Flowers, and Toys
Encourage kids to take pictures of things that interest them. Eventually they may want to pursue more abstract subjects, textures, shapes, tones, and geometries, but they will do very well to begin with people, pets flowers, and toys. You should be able to supply one or more of these categories in abundance.
As kids photograph people and pets, they develop their portrait skills. This includes framing the scene and getting a nice, sharp photograph. Flowers and toys will hone their still-life and close-up skills.
Compose in Thirds
Try instilling the Rule of Thirds in your budding photographer from the beginning. An essential principle of good photography, the Rule of Thirds divides a photo into thirds vertically or horizontally and places important features at intersections or along the dividing lines. This practice is important for capturing most scenes and people, but is less important when photographing flowers and other unmoving subjects that naturally fit best in the center of a photo.
Inexperienced photographers typically frame photos of people. My wife and I are positioned in the exact center of the photo. While not the worst photo in the world, it leaves a lot of wasted space above us.
Avoid Backlighting
When kids are taking pictures, teach them to pay attention to where the dominant light source is located. If they are looking into the light, remind them to try to reposition. Looking into strong lighting fools the camera into thinking that the ambient lighting is brighter than it is, which makes people and other subjects look darker in the shot.
When taking photos inside, this backlighting situation happens most often when the subject is in front of a window or door. When photographing outside, strong backlighting is related to the photographer’s position in relationship to the sun. As much as possible, subjects should look toward the sun or to the side.
Encourage Close-Ups (They’re Cool!)
Kids love getting really close to what they are photographing. They come up with some really neat photos this way. If close-ups are routinely blurry, the photographer is too close to the subject; remind kids to stand back a bit and zoom in using the camera’s lens.
Every lens has a minimum focusing distance. If the subject is closer than this distance, the camera cannot focus the lens. You can look up the focusing range in the camera or lens manual or in quick-start guides. Depending on the shooting mode and the zoom level (from wide to telephoto), the instructions may list one or more minimum distances.
Photograph Your Life
Life events make fantastic opportunities to get kids involved in photography. They’ll have fun taking photos and will create a memorable record that can last forever.
If you are on a family trip and decide to go horseback riding, take pictures! If you go bowling, take a camera. If you’re on a vacation, take a camera. Cooking dinner? Have a camera handy. Riding in a car? Bring a camera. Painting the house? Take pictures. Having friends over for a play date? Make sure the camera battery is charged and ready to go. A friend is renting a bounce house and having a party? Take the camera! Planning an afternoon at the zoo? Take pictures!
Promote Unique Perspectives
Adults tend to want all their photos nice and level. We like vertical lines to be vertical and horizontal lines to be horizontal. Kids express themselves more freely. They tilt the camera this way and that, resulting in some pretty creative-looking photos. Don’t stamp this creative instinct out of them.
If kids need help straightening the camera, encourage them to use lines in the scene as cues. Look for doors, walls, roofs, poles, horizons, and other linear features you can line up with the edge of the frame.
Pause to Focus and Hold Still to Take the Shot
In their excitement, energetic kids can easily miss when the camera actually takes a picture. They press the shutter button and then run off to the next scene. The problem is that cameras (especially small compact-digital cameras) generally lag a moment between pressing the button and taking the photo.This is a great example of what happens when kids are in a hurry.
Encourage kids not to hurry when taking photos. They should press the shutter button halfway down, pause, confirm that the camera has successfully focused, and then continue gently pressing the shutter button all the way down. After releasing the button, they should continue holding the camera steady until they know the shot was taken.
Sprinkle Photos Liberally with Creative Effects
Some cameras have creative effects (sometimes called special effects, picture effects, or filters) that can turn ordinary photos into art pieces. Look for these types of effects: Miniature, Toy Camera, Fisheye, Super Vivid, Poster, Black-and-White, Partial Color, Soft Focus, Retro, and so on. These effects are fun to play with and they spark kids’ natural interest. I love them because the effects don’t require a computer to create, which means that kids get immediate feedback.
Make Every Shot Count
Give a kid a digital camera with an 8GB memory card that can store thousands of photos, and you will get a memory card with thousands of cats walking away, along with blurry photos of toes, the carpet, their knees, and your backside. My wife and I have discovered that if we give our kids too much leeway, they have a hard time appreciating individual photos. They are often more interested in playing “camera tag.”
While you should allow kids to have “anything goes” time, it will help if you also set times when you limit the number of photos they take to a small number, such as 5–10. The key is to sit down and review the pictures together, and then send the kid off to shoot 5–10 more. Each shot will become more meaningful to young photographers, and they will put more effort into taking them.
Discuss Every Photo
If you encourage a youngster to pick up a camera and take good photos, be available to talk when they bring their shots to you. You’re a big part of the process. Make a special effort to take the time and finish the job.
Think of yourself as a sports or activity coach working with a player to improve something (their swing, for instance). Try to find good things to make better.
This is a good example of a thought-provoking photo. Here are some questions I would ask and suggestions I would make:
- Why did you take this photo? What made you see it from this perspective?
- What do you like about the photo? What could you do to make it different or better?
- Would you take this photo again? Try taking it again but from a different perspective. You can try getting lower or standing on a step. Take a step back or get closer.
Keep Critiques Positive
Children crave positive, fun, interactive feedback from adults and older kids. Make sure your critiques are uplifting and encouraging. This is not boot camp. Imagine yourself watering a plant and giving it plenty of sunshine. Kids respond in the same way. They soak up attention and love and respond by growing, maturing, and getting stronger.
Critiques don’t always have to be easy. Depending on their age and maturity, kids may need to be challenged. However, providing a challenge is not the same as berating someone for taking bad photos. Challenge older kids to excel, but reward and praise them throughout the process.
For example, you might respond to photos like the rather plain-looking doorknob in the photo by asking kids what they saw in their mind’s eye, and then discussing whether they thought they captured it. Point out aspects of the photo you like, and encourage the kids to keep trying.
Grow into Scenes and Other Shooting Modes
After kids get some experience with holding the camera, composing the scene, focusing, and taking photos using Auto mode, they will be ready to expand their horizons and begin using other shooting modes. Scene modes offer kids the best next step, in that you aren’t relying on the camera to guess what you’re photographing. Instead, you tell the camera what subject you’re photographing (and sometimes the lighting), and the camera configures the best settings to take that photo. Examples of scene settings include Portrait, Landscape, Close-up, Snow, Action, and Fireworks.
Take the Picture-a-Day Challenge
Set aside a period of time to participate in a “picture-a-day challenge” with your kids. The idea is to challenge yourself, and the kids you’re trying to teach, to take one interesting photo per day. Start off small—perhaps only a three-day span. If that approach is successful, shoot for five days. When everyone has the hang of that, go for a week or more. This type of focused assignment keeps photography on everyone’s mind. If you want to structure the challenge a bit more, assign fun subjects each day—such as animals, plants, outside, inside, toys, self-portraits, geometrical patterns. Post each day’s photos on Facebook or other online community of choice to stimulate interest and discussion.
Use Sports Mode for More Than Just Action
Normally, an adult might switch to a Sports or Action mode to photograph activities filled with movement and action. This type of mode is ideal for capturing motion. The camera sets faster shutter speeds in order to freeze movement and keep everything from looking blurry.
If kids have a tough time taking blur-free photos, the problem may be that they can’t stay still while the camera captures the photo. You can attempt to counter this problem by having them switch to Sports or Action mode, regardless of what they are photographing. With faster shutter speeds, the camera takes less time to expose the scene. The result should be sharper and less blurry.
This is a good example of using Sports mode to photograph a giraffe. The faster shutter speed (1/2000 second) helped ensure that any unexpected movement by the animal or the photographer would not blur the photo.
Encourage Projects
Encourage kids to come up with their own interesting, creative photography projects (even movies). Macro photography (extreme close-ups) is very enjoyable. So are landscape photography and portraiture. Photos make great desktop backgrounds. If kids are graphically talented, they may be able to Photoshop their own shots. Older kids might enjoy using their photos for stop-motion animation projects. Time-lapse photography can also be fun.
Print and Display Their Best Shots
One of the best ways to reward kids for their effort and achievement is to print and display examples of their best photos. The photo in below is a good example; it shows the Gateway Arch in St. Louise as photographed by one of our kids.
You will be amazed at how much encouragement kids receive by seeing their photos shown prominently. Think of this as a digital update to the tradition of hanging kids’ artwork on a refrigerator. There are a number of ways to produce these photos. You can print them yourself using a home printer and photo paper. If you want something a little better, consider professional printing—it’s not as scary or as expensive as it sounds. Frame them yourself, or go all out and have them matted and framed by an expert.
Use All Types of Cameras
There’s no reason why you can’t use other types of cameras to teach kids how to take better photos. Smartphones, tablets, digital SLRs, disposable film cameras, toy cameras, and even game pads are worth using. Kids love taking fun shots with devices like Nintendo DSi XL and iPod touch. Even something like the Barbie Photo Fashion Doll, which might seem outlandish to an adult, makes a fantastic learning tool.
Rinse and Repeat
Regardless of how quickly we learn, a reasonable amount of repetition helps anything to become familiar. Up to a point, the more kids engage in fun photography activities, the more they will master the craft. Holding the camera, composing the scene, focusing, and taking the shot will become second nature to them.
You’ll be amazed by the photos kids take. Their perspective differs from that of adults. Some photos will be funny, others will be charming. Some very artistic, others practical.
Notice that I’ve said “reasonable” and “up to a point.” Don’t overdo it. Pay attention to signals kids give off. You want them to be excited, encouraged, and wanting more.
Final Thoughts
Kids and photography go together. I’m amazed by the photos my kids take. Their shots range from fun, lighthearted snapshots of good times at the zoo to more purposefully artistic studies.
Having the right attitude and expectations (on my part, mostly), combined with a creative teaching style, has enabled me to help my kids take good photos and have fun. Use the tips and techniques I’ve shared in this article to help you get started.
Above all, encourage kids lovingly—and know when to quit. Guide, but don’t force. Make the time you spend taking photos together fun. Some kids will give photography a try, but will eventually find something else that interests them more. That’s okay. Others will fall in love with photography and will want to pursue it more and more on their own. You may have to work hard to keep up with them!